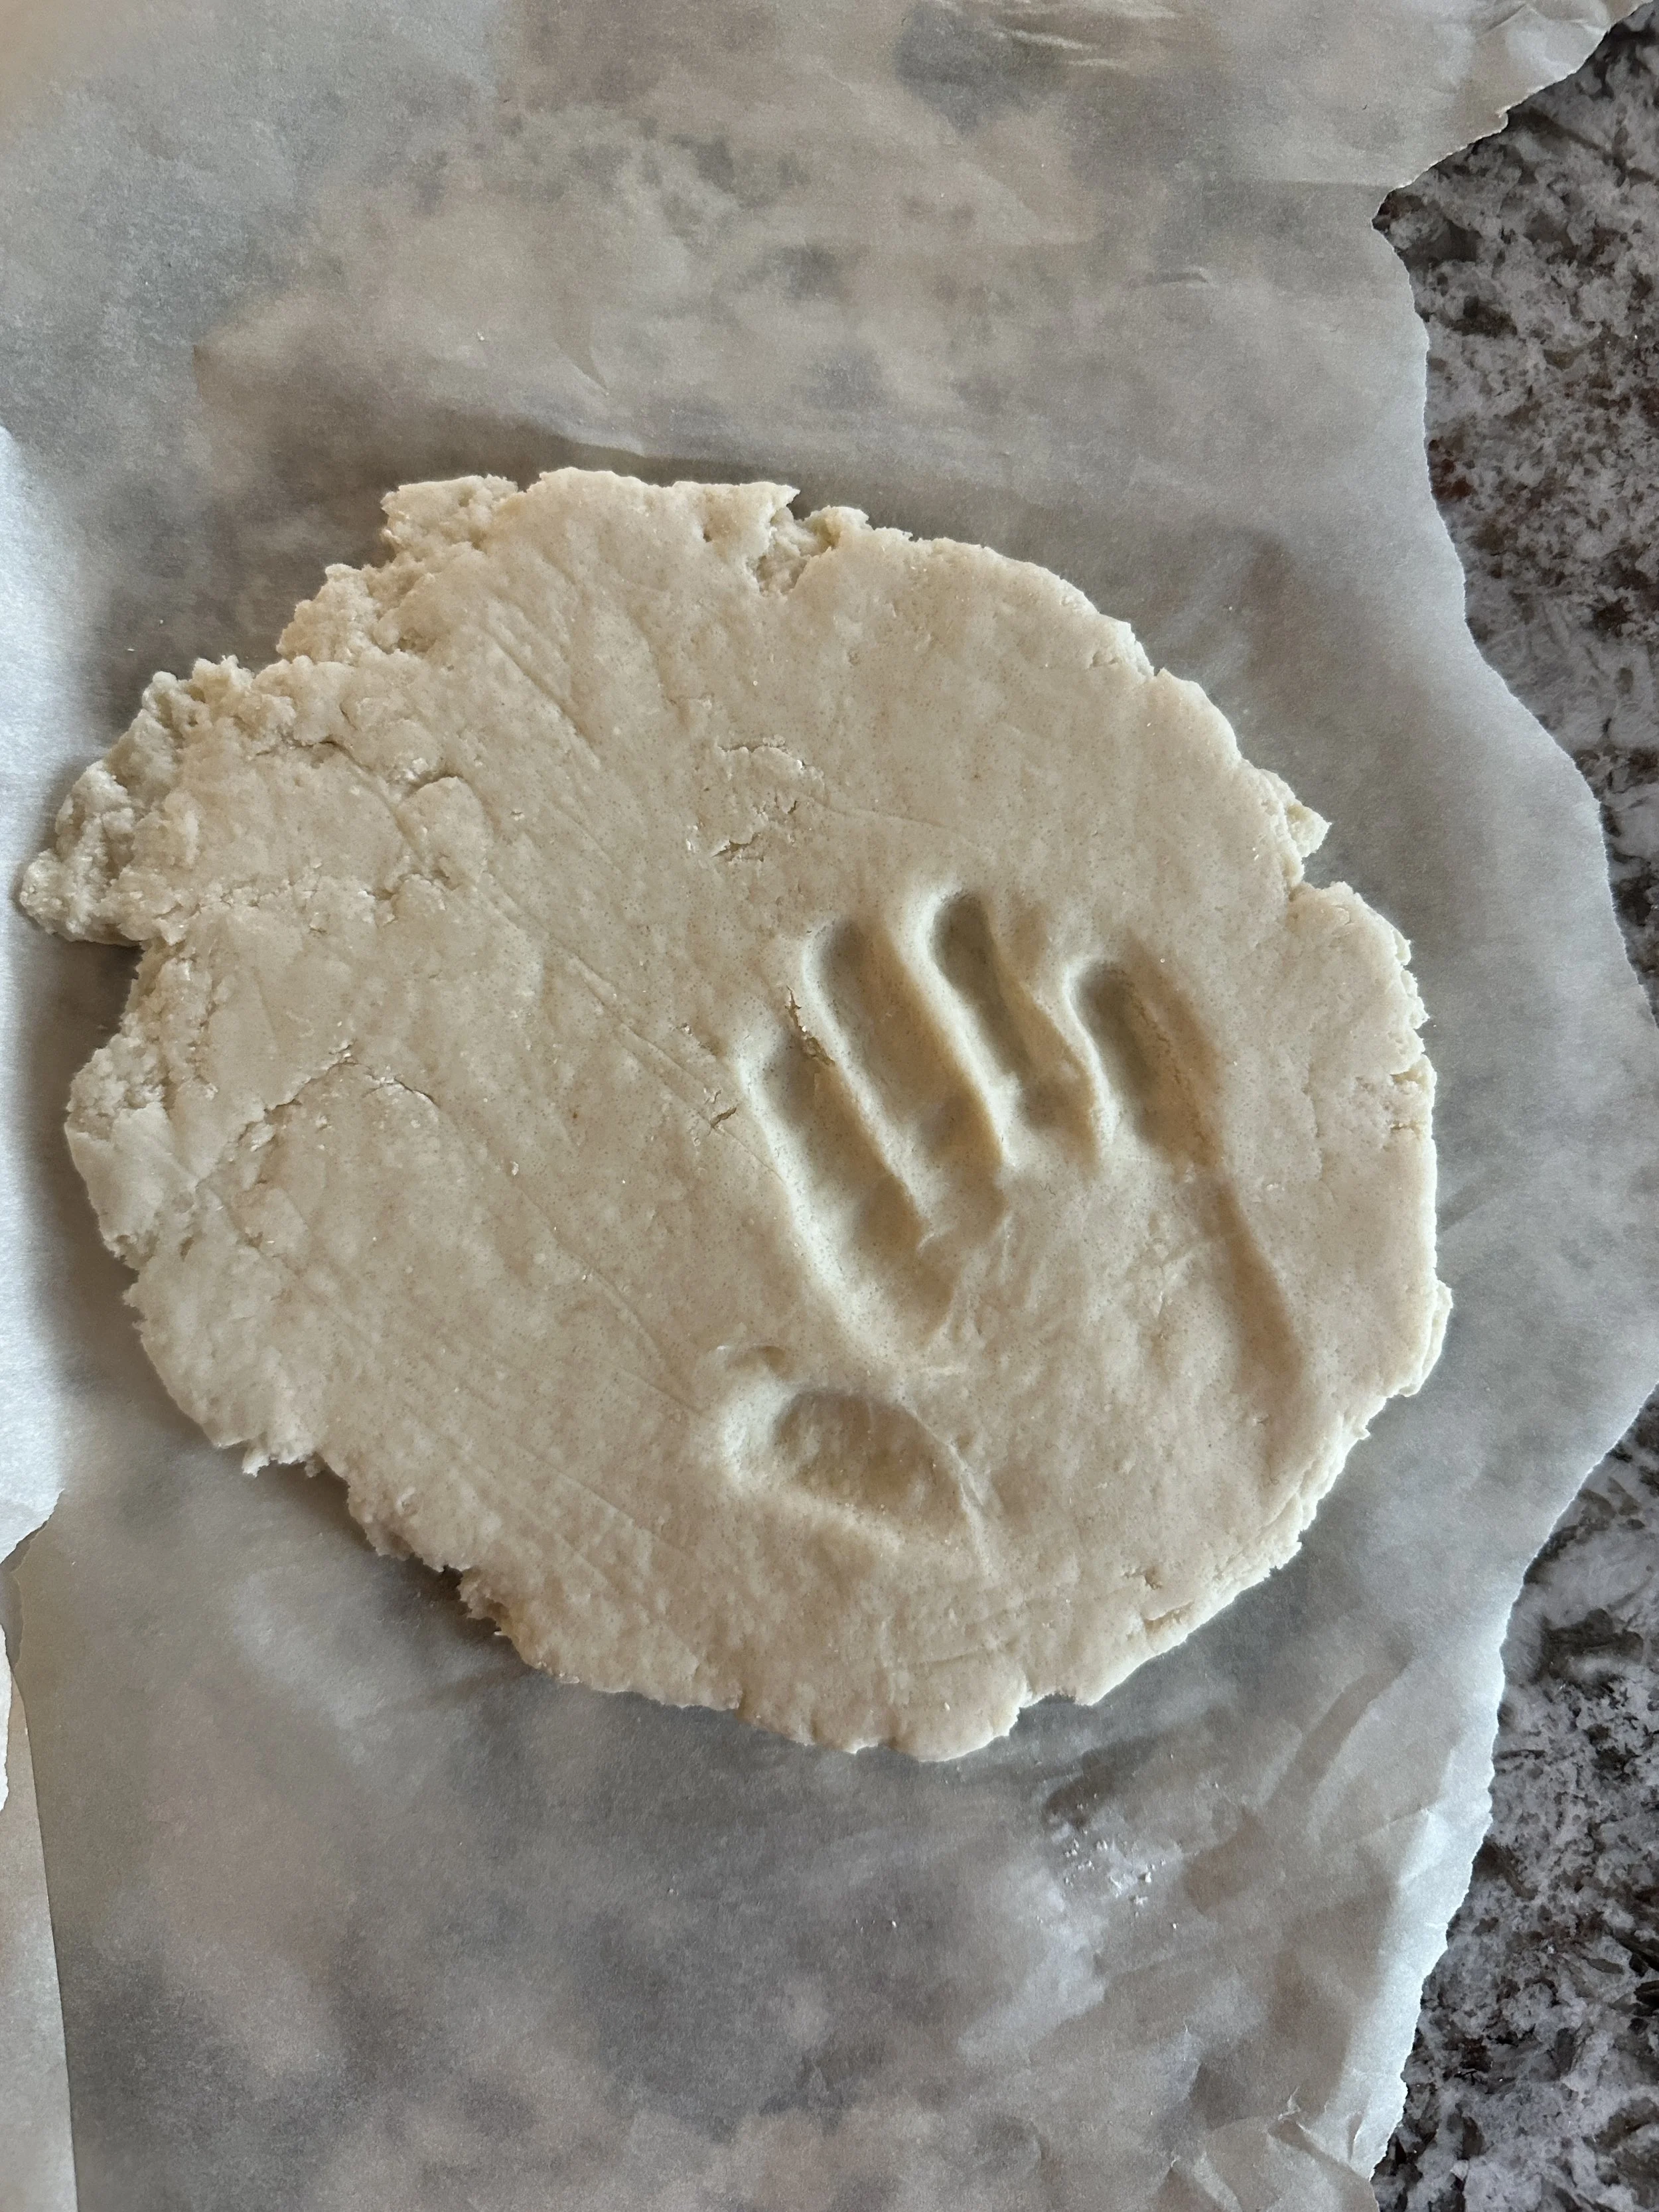
Salt Dough Santa Handprint Ornaments
I saw these all over the internet and knew I had to test them out. I already had all the materials and the adorable little hands ready for preserving! They are perfect for gifting to grandparents and for hanging as a keepsake on your own tree. I took all the pictures and then never made a post so here it is!
Ingredients & Materials
4 cups flour
1 cup salt
1 cup water
Straw or pencil to poke the hole
Rolling pin
Parchment paper
Pan
Instructions
Preheat oven to 200°
Combine the salt and flour together
Add in the water slowly and mix to form the dough
Roll the dough until it’s 1/4 inch thick
Press your child’s hand down into the dough firmly. It’s easiest if they are standing well above the dough so they can put more weight into it. I had to help Levi, by pressing down each finger individually (quickly before he pulled away!) Tip: try to keep your child’s thumb away from the other fingers to create the tip of Santa’s hat!
Once you’re happy with your prints (it might take a couple re-do’s if your toddler is anything like mine), use a knife to cut around the outside of the handprint
Use a straw or a pencil to create a hole in the top of the handprint for the ribbon
Place the handprints on a baking sheet and bake at 200° for about an hour, flip them over and bake for another hour or so until dry. Mine took a while so I continued to flip them and check on them.
Decorating Materials
Acrylic craft paint (in colors for background, skin, beard, cheeks hat and eyes—I used white, peach, red, brown and black)
Pencil
Optional: Mod Podge
I looked up a lot of different Santas on Pinterest to get inspiration. But one thing to keep in mind is that these are more fun when they’re not perfect, so don’t stress too much! The heel of the handprint and the thumb create Santa’s hat, the rest of the palm is his face and the fingers are his beard. Typically when I paint, I go from lightest to darkest, so I started with white for his beard and an outline around the hat (it doesn’t need to be perfect because you’ll be adding the red hat color and can adjust the edges at that point). Then I moved on to the hat and his skin on his face. The paint dries pretty quickly. Last it’s all about the details, eyes, eyebrows, nose and cheeks! There are so many different versions and if you’re making a bunch you can try lots of them out. I ended up using a pencil to create a light outline for his mustache. I chose no lips, but I’ve seen cute ones with mouths as well. Some people like to use Mod Podge to seal their handprints and make them shiny. I decided not to.
Once the paint is dry, hot glue your pom pom and add your ribbon. I wanted a little bit more of a “loose” pom pom so I made my own. They’re incredibly easy, you just need yarn. Here’s a quick video on how to make them, but since I wanted mine small I used two fingers instead of four and really trimmed it down. Don’t forget to write your child’s name and the year on the back!


